
I have a shameful secret to admit to you all.
You know how I harp on about image optimisation being one of the first things you should look at for a quick win on site speed? Well… it turns out we hadn’t been doing it ourselves.
… I’m this guy right now…

The bright side to our bungle is that I can now show you how to go about tackling a problem like this.
Let’s break it down.
First, we identified 7 images that were all much larger than they needed to be. No really… they were WAY too big.
If you’re not sure where to start on this one yourself, I’ve got a great trick for you:
- Bring up your website and then hit F12 (or right click + Inspect) to launch your browser’s inspector tool.
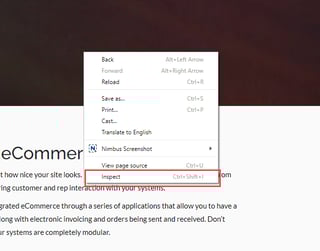
- Put both windows side-by-side, like so:
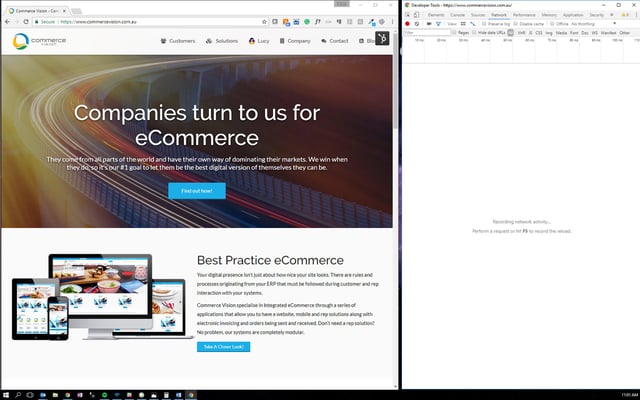
- Then, refresh your site. Now (and this is important), make sure you do a full refresh. This means you’re asking your computer to fetch the site again rather than pull it from memory. That’s CTRL + Refresh button in the browser if you’re not sure (or CTRL + SHIFT + R if you prefer a keyboard shortcut).
You know you’ve done it right when under the inspector’s size column you have KB values rather than “(from memory cache)”.
- Now, just sort that size column and cherry pick the large images that top your list.
After we worked out which images were a problem, we went through and optimised them.
We did this in two ways:
- Making sure that the maximum pixel size of the image was the max size it would be online
- Eg. No more 1600 x 1200 images in an 800 x 600 space!
- Checking the file type used, and verifying it was the best fit for the image’s purpose and requirements
- Eg. Which of your images are PNGs (these are generally larger than JPG)? Does the image warrant this format?
- Here’s a quick guide to the difference - https://blogs.techsmith.com/tips-how-tos/jpg-vs-png/
- Eg. Which of your images are PNGs (these are generally larger than JPG)? Does the image warrant this format?
In total, we went from 7 files weighing in at a hefty 1.68MB to those same images at under 1MB.
Let’s put it in perspective with a little comparison chart (complete with shame face over that “original size” column):

|
Image |
Original Size |
New size |
Size decrease* |
|
1 |
150kb |
77kb |
62% |
|
2 |
430kb |
217kb |
50% |
|
3 |
339kb |
202kb |
40% |
|
4 |
220kb |
136kb |
39% |
|
5 |
124kb |
77kb |
38% |
|
6 |
242kb |
158kb |
35% |
|
7 |
174kb |
113kb |
35% |
*rounded to the nearest %
Now, our website is really “image lite” when compared to an ecommerce site. So let’s say we multiply our 7 by 100. If you think about it, 700 products with one image each isn’t unrealistic (in fact for a lot of you, that’s probably low balling it a LOT). So you can start to see the kind of impact image size can have…
Remember, it’s not just product images you should be looking at. Those eye-catching banner images can creep up in size really quickly, as can your call-to-action tiles and brand logos.
For those who are numbers people I've done a little before and after comparison of our home page (which had two of the largest images). By making the above changes we were able to drop our average load time from 4.532 seconds, to 4.403. I know it probably doesn't sound like much, but remember that was only 2 images. How many images are on each of your pages?
Well, that’s my confessional done for the day.
I hope you can take away some useful learnings from our little bungle. I’d love to hear how much digital “weight” you’ve been able to shed from your sites, so feel free to get in touch!
